Unlocking Creativity with Decorative Wall Art Laser Cut Files: A Guide to Digital Precision
Transforming a blank wall into a statement piece has never been more accessible, thanks to the rise of Decorative Wall Art Laser Cut designs. Whether you are a seasoned craftsperson running a small business or a hobbyist looking to personalize your home office, digital files offer an incredible gateway to originality. However, because this is a digital product, the path from purchase to finished masterpiece involves a few critical steps that differ significantly from buying physical goods. Understanding these nuances is the key to avoiding frustration and ensuring your final project looks exactly as envisioned.
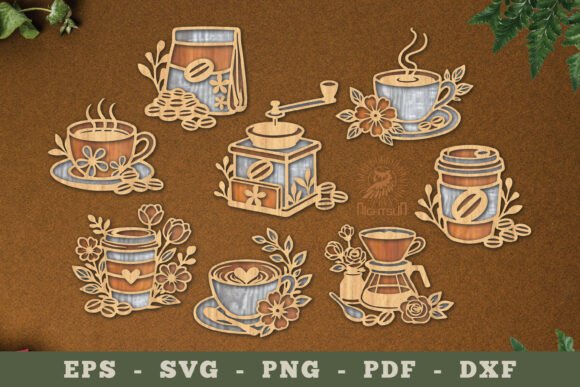
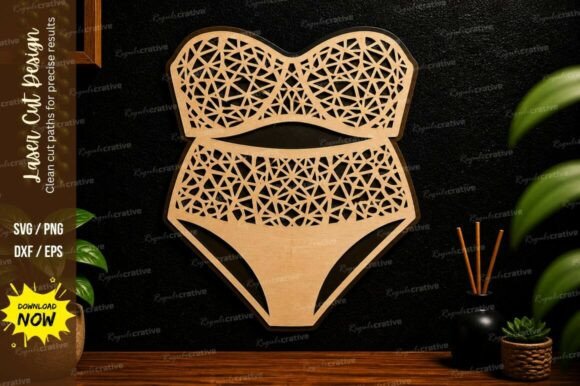
When you browse online marketplaces for laser cut designs, it is easy to get swept up in the stunning photography. Those images of intricate wooden mandalas or sleek metal geometric shapes are powerful inspirations. Yet, a common misunderstanding arises when buyers assume they are purchasing the physical object shown in the photo. It is vital to remember that you are acquiring a zip folder containing vector and raster files—specifically in formats like SVG, DXF, EPS, PDF, JPEG, and PNG. No physical materials will be shipped to your door. This distinction is the first hurdle many newcomers face, but once clarified, it opens up a world of flexibility where you control the material, scale, and finish.
Navigating File Formats and Compatibility
One of the most frequent pitfalls occurs when creators download their files without verifying compatibility with their specific machinery. Not all laser cutters speak the same language. A design optimized for a Glowforge might behave differently on an industrial CO2 machine or a diode cutter if the file format isn't matched correctly. For instance, while SVG and DXF files are the industry standards for vector cutting, some older software may struggle with complex nodes or specific encoding within these files. Conversely, PDF and EPS formats are excellent for preserving scale and precision across different design programs like Adobe Illustrator or CorelDRAW.
To avoid wasting material and time, always check the file types included in your purchase before you begin. A comprehensive package should provide multiple formats to ensure broad compatibility. If you are using a CNC router rather than a laser, the DXF file is often your safest bet for clean paths. Beginners often make the mistake of trying to import a JPEG or PNG directly into cutting software, expecting it to cut lines. These are raster images meant for reference or engraving; they do not contain the mathematical paths required for cutting. Always look for the vector files (SVG, DXF, EPS) for the actual cutting process and use the raster images only for visualization or texture mapping.
Scaling and Material Selection Errors
Another area where projects often go off track is scaling. Digital files are scalable by nature, which is a tremendous advantage, but it can also be a trap. A design that looks balanced at 12 inches may lose structural integrity when enlarged to 48 inches, especially if the connecting bridges between cutouts become too thin for the chosen material. Before sending a job to your laser, analyze the design at your intended size. Are the negative spaces too large, causing the material to sag? Are the details too fine for the thickness of your plywood or acrylic?
Material selection plays a pivotal role here. Many enthusiasts purchase a beautiful Decorative Wall Art Laser Cut file and immediately reach for whatever scrap wood they have on hand. While resourcefulness is good, mismatched materials can ruin the aesthetic. Thin veneer might warp under the heat of a high-power laser, while thick hardwood might require multiple passes that leave visible burn marks on the edges. For a professional finish, consider the grain direction, the color contrast after cutting, and how the material interacts with light. If you plan to paint the piece, MDF might be ideal; if you want a natural look, birch plywood offers a clean, light canvas that highlights the intricacy of the cut.
Optimizing Your Workflow for Best Results
To ensure your project runs smoothly, adopt a checklist approach before you hit "start" on your machine. First, open your vector file in your preferred design software and inspect the paths. Look for open nodes or overlapping lines that could cause the laser head to jitter or cut inefficiently. Cleaning up the file beforehand can save significant time and extend the life of your laser lens. Second, perform a test cut on a scrap piece of the same material. This simple step confirms your power and speed settings are calibrated correctly, preventing costly mistakes on your final piece.
Furthermore, consider the end-use environment. Is this art for a humid bathroom or a dry living room? The answer dictates not just the material, but also the finishing process. Unsealed wood can absorb moisture and warp over time, ruining the precise alignment of the laser-cut pieces. Applying a sealant, stain, or clear coat not only protects the investment of your time but also enhances the visual depth of the design. Entrepreneurs selling these items should particularly note that the perceived value of the product increases dramatically with a high-quality finish, turning a simple cut file into a premium decor item.
- Verify File Integrity: Always unzip the folder immediately after purchase to ensure all formats (SVG, DXF, EPS, PDF, JPEG, PNG) are present and readable.
- Check Machine Settings: Adjust power, speed, and frequency based on the specific material thickness, not just generic presets.
- Plan for Assembly: If the design involves multiple layers, dry-fit the pieces before gluing to ensure alignment.
- Consider Lighting: Think about how shadows will play through the cutouts; back-lighting can transform a flat wall hanging into a dynamic feature.
The possibilities for creation truly are endless when you have the right digital foundation. A single Decorative Wall Art Laser Cut design can be reinvented dozens of times simply by changing the material, color, or scale. You might create a rustic version for a cabin, a sleek metallic version for a modern office, or a colorful acrylic iteration for a child's room. The digital nature of the product empowers you to iterate rapidly without the overhead of re-tooling or shipping delays.
Ultimately, success with digital laser cut files comes down to preparation and attention to detail. By respecting the difference between the digital file and the physical output, choosing the right materials, and testing your settings, you can produce work that rivals professional studios. If you ever find yourself unsure about a specific file format or how a design might translate to a unique material, do not hesitate to reach out to the seller. Most creators are eager to help you succeed and can offer specific advice tailored to their design's geometry. Happy shopping, and even happier creating!